How I build a full-fledged app with Next.js and MongoDB Part 2: User profile and Profile Picture
In this post, I am going to add profile page as well as the ability to edit the profile. We also learn to add Profile Picture feature to our project.

This is a follow up of Part 1.
Again, below are the Github repository and a demo for this project to follow along.
About nextjs-mongodb-app project
nextjs-mongodb-app is a Full-fledged serverless app made with Next.JS and MongoDB
Different from many other Next.js tutorials, this:
- Does not use the enormously big Express.js
- Supports
serverless - Using Next.js v9 API Routes w/ middleware
For more information, visit the Github repo.
What we are making
We are adding the following features:
- Profile Page
- Edit Profile
- Profile Picture
The user profile page

My user profile page will be at /profile. Create /pages/profile/index.js.
The reason, I have index.js inside /profile instead of profile.jsx is because we are adding /profile/settings later.
import React from 'react';
import Head from 'next/head';
import Link from 'next/link';
import { useUser } from '../../lib/hooks';

const ProfilePage = () => {
  const [user] = useUser();
  const {
    name, email, bio, profilePicture,
  } = user || {};

  if (!user) {
    return (
      <p>Please sign in</p>
    );
  }
  return (
    <>
      <style jsx>
        {`
          h2 {
            text-align: left;
            margin-right: 0.5rem;
          }
          button {
            margin: 0 0.25rem;
          }
          img {
            width: 10rem;
            height: auto;
            border-radius: 50%;
            box-shadow: rgba(0, 0, 0, 0.05) 0 10px 20px 1px;
            margin-right: 1.5rem;
          }
          div {
            color: #777;
            display: flex;
            align-items: center;
          }
          p {
            font-family: monospace;
            color: #444;
            margin: 0.25rem 0 0.75rem;
          }
          a {
            margin-left: 0.25rem;
          }
        `}
      </style>
      <Head>
        <title>{name}</title>
      </Head>
      <div>
        {profilePicture ? (
          <img src={profilePicture} width="256" height="256" alt={name} />
        ) : null}
        <section>
          <div>
            <h2>{name}</h2>
            <Link href="/profile/settings">
              <button type="button">Edit</button>
            </Link>
          </div>
          Bio
          <p>{bio}</p>
          Email
          <p>
            {email}
          </p>
        </section>
      </div>
    </>
  );
};

export default ProfilePage;
There is nothing new, we use our useUser to get our user's email, name, bio, and profile picture. Looking at
if (!user) {
  return (
    <p>Please sign in</p>
  );
}
You can see that if the user is not logged in, I return a text saying Please sign in.
I'm retrieving the additional bio field and also returning it.
Also, I'm adding a link to the Setting page:
<Link href="/profile/settings"><a>Edit</a></Link>That is what we are going to create now.
The Profile Setting page
Building the Profile Update API
The way for our app to update the user profile is would be to make a PATCH request to /api/user.
In pages/api/user/index.js, we add a handler for PATCH:
handler.patch(async (req, res) => {
  if (!req.user) {
    req.status(401).end();
    return;
  }
  const { name, bio } = req.body;
  await req.db.collection('users').updateOne(
    { _id: req.user._id },
    {
      $set: {
        ...(name && { name }),
        bio: bio || '',
      },
    },
  );
  res.json({ user: { name, bio } });
});
It first checks if the user is logged in by checking req.user. If not, it will send a 401 response.
It will retrieve name and bio from the req.body and call MongoDB UpdateOne to update the user profile.
The Profile Settings Page
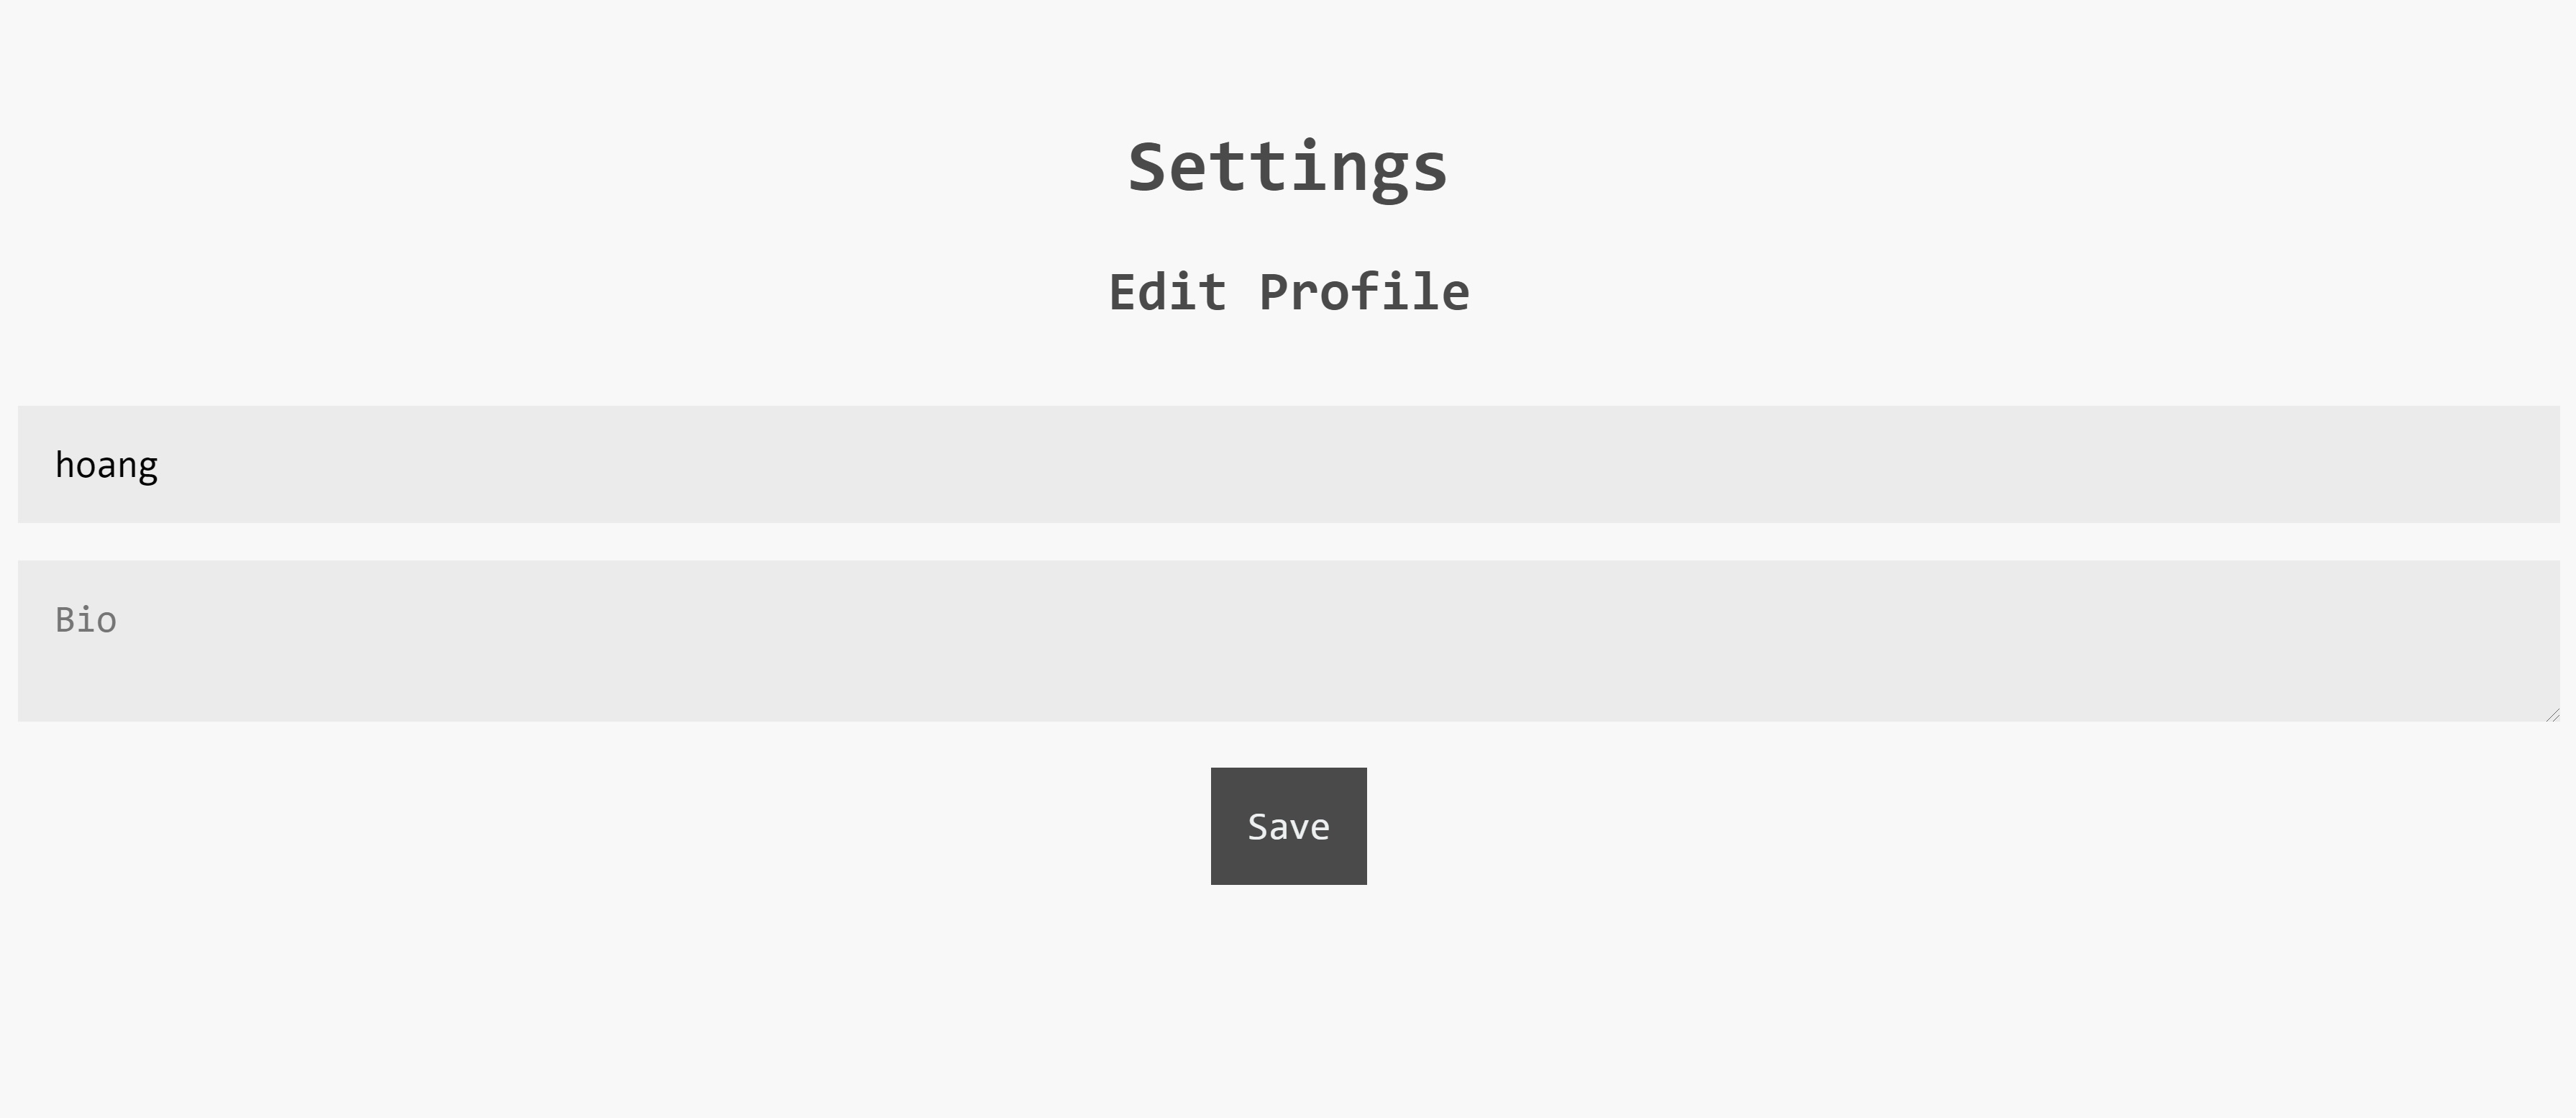
Let's create pages/profile/settings
const ProfileSection = () => {
  const [user, { mutate }] = useUser();
  const [isUpdating, setIsUpdating] = useState(false);
  const nameRef = useRef();
  const bioRef = useRef();
  const [msg, setMsg] = useState({ message: '', isError: false });

  useEffect(() => {
    nameRef.current.value = user.name;
    bioRef.current.value = user.bio;
  }, [user]);

  const handleSubmit = async (event) => {
    event.preventDefault();
    if (isUpdating) return;
    setIsUpdating(true);
    const formData = new FormData();
    formData.append('name', nameRef.current.value);
    formData.append('bio', bioRef.current.value);
    const res = await fetch('/api/user', {
      method: 'PATCH',
      body: formData,
    });
    if (res.status === 200) {
      const userData = await res.json();
      mutate({
        user: {
          ...user,
          ...userData.user,
        },
      });
      setMsg({ message: 'Profile updated' });
    } else {
      setMsg({ message: await res.text(), isError: true });
    }
  };

  return (
    <>
      <Head>
        <title>Settings</title>
      </Head>
      <section>
        <h2>Edit Profile</h2>
        {msg.message ? <p style={{ color: msg.isError ? 'red' : '#0070f3', textAlign: 'center' }}>{msg.message}</p> : null}
        <form onSubmit={handleSubmit}>
          <label htmlFor="name">
            Name
            <input
              required
              id="name"
              name="name"
              type="text"
              placeholder="Your name"
            />
          </label>
          <label htmlFor="bio">
            Bio
            <textarea
              id="bio"
              name="bio"
              type="text"
              placeholder="Bio"
            />
          </label>
          <button disabled={isUpdating} type="submit">Save</button>
        </form>
      </section>
    </>
  );
};

const SettingPage = () => {
  const [user] = useUser();

  if (!user) {
    return (
      <>
        <p>Please sign in</p>
      </>
    );
  }
  return (
    <>
      <h1>Settings</h1>
      <ProfileSection />
    </>
  );
};

export default SettingPage;
In the setting page, I abstract the profile section into <ProfileSection />. We use our useUser hook to retrieve to user info.
The user profile editing fields will have references using nameRef and bioRef, allowing us to modify and access their values by ref.current.value.
The value of the two fields will get updated based on the data from the useUser hook.
useEffect(() => {
  nameRef.current.value = user.name;
  bioRef.current.value = user.bio;
}, [user]);
On form submission, a PATCH request will be made to /api/user with name and bio body. However, we use FormData to send our fields. The reason for this is that it allows us to include our profile picture later.
We then call mutate to update the user state, as well as setting the error message if applicable.
const handleSubmit = async (event) => {
  event.preventDefault();
  if (isUpdating) return;
  setIsUpdating(true);
  const formData = new FormData();
  formData.append('name', nameRef.current.value);
  formData.append('bio', bioRef.current.value);
  const res = await fetch('/api/user', {
    method: 'PATCH',
    body: formData,
  });
  if (res.status === 200) {
    const userData = await res.json();
    mutate({
      user: {
        ...user,
        ...userData.user,
      },
    });
    setMsg({ message: 'Profile updated' });
  } else {
    setMsg({ message: await res.text(), isError: true });
  }
};
Building the Profile picture functionality
To have this functionality, we need somewhere to host our images. I choose Cloudinary to host my images, but you can use any services.
Add profile picture to settings page
In the same form above, we add our profile picture field:
<label htmlFor="avatar">
  Profile picture
    <input
      type="file"
      id="avatar"
      name="avatar"
      accept="image/png, image/jpeg"
      ref={profilePictureRef}
    />
</label>
This field has a ref of profilePictureRef, allowing us to access its value:
const profilePictureRef = useRef();Adding into our existing handleSubmit function:
/* ... */
if (profilePictureRef.current.files[0]) {
  formData.append('profilePicture', profilePictureRef.current.files[0]);
}
If the user did select an image, we can access its value in profilePictureRef.current.files[0] (files is an array because it can be a multi-files upload) and add it to our FormData instance.
It will be included in the same PATCH request.
Building the Profile Picture Upload API
Since our profile picture is submitted to the same PATCH endpoint. Let's edit its handler.
To handle image, we need something to parse the uploaded file. Multer is the package that we will use.
npm i multerLet's take a look at our PATCH handler again:
import multer from 'multer';
const upload = multer({ dest: '/tmp' });

handler.patch(upload.single('profilePicture'), async (req, res) => {
  let profilePicture;
  if (req.file) {
    // a file is attached, add image upload login here
  }
  const { name, bio } = req.body;
  await req.db.collection('users').updateOne(
    { _id: req.user._id },
    {
      $set: {
        ...(name && { name }),
        bio: bio || '',
        ...(profilePicture && { profilePicture }), // we also include the new profilePicture only if it was uploaded
      },
    },
  );
  res.json({ user: { name, bio, ...(profilePicture && { profilePicture } } });
})

export const config = {
  api: {
    bodyParser: false,
  },
};

export default handler;
Looking at:
export const config = {
  api: {
    bodyParser: false,
  },
};
I am disabling Next.js 9 body-parser because form parsing is already handled by Multer.
We initialize an instance of Multer that is configurated to save the file to our temp folder:
const upload = multer({ dest: '/tmp' });The instance itself is a middleware, so we attach it before our main handler in the PATCH handlers. The middleware expects a single file upload under the profilePicture field that we specify earlier in our form submission function.
handler.patch(upload.single('profilePicture'), async (req, res) => {
  // upload.single('profilePicture') middleware is executed before our main handler (req, res)
})
Now we can access the file via req.file.
Integrate Cloudinary
This is the section for the file uploading logic. The content in this section depends on the File Uploading library or service you choose. I am using Cloudinary in my case.
If you use Cloudinary, go ahead and create an account there.
Cloudinary provides its Javascript SDK. Go ahead and install it:
npm i cloudinaryTo configure Cloudinary, we need to set the following environment variable:
CLOUDINARY_URL=cloudinary://my_key:my_secret@my_cloud_nameThe Environment variable value can be found in the Account Details section in [Dashboard](https://cloudinary.com/console "Cloudinary Dashboard). (Clicking on Reveal to display it)
If you use Cloudinary, look at its Node.js SDK documentation for more information.
Import the cloudinary SDK (Using its v2):
import { v2 as cloudinary } from 'cloudinary'Uploading an image is as simple as:
cloudinary.uploader.upload("theImagePath");..where out image path is req.file.path.
let profilePicture;
if (req.file) {
  const image = await cloudinary.uploader.upload(req.file.path, {
    width: 512,
    height: 512,
    crop: 'fill',
  });
  profilePicture = image.secure_url;
}
We are uploading our image to Cloudinary with the option of cropping it down to 512x512. You can set it to whatever you want or not have it at all. If the upload is a success, I set the URL (the secured one) of the uploaded image to our user's profilePicture field. See this for more information.
Awesome, we have managed to create our Profile Picture functionality.
Conclusion
Let's run our app and test it out. We have managed to create our user profile functionality with profile picture.
Again, check out the repository here and the demo here.
If you find this helpful, considering staring the repo to motivate me to add more content.
Good luck on your next Next.js + MongoDB project!