How I build a full-fledged app with Next.js and MongoDB Part 3: Email Verification, Password Reset/Change
In this blog post, I am writing on how I create Password Reset/Change and Email Verification feature using Next.js.

I have come back after a long hiatus in building nextjs-mongodb-app. This time I am adding the following features:
- Email Verification
- Password Reset
- Password Change
Before this, I have made several modifications to the codebase, which you can look at in the following PRs:
- Rewrite with next-connect (#22)
- Replace axioswal with fetch (a custom fetch "fetchSwal") (#41)
- The API response schema slightly changes. (
{ status: 'ok' }becomes{ ok: true })
Again, Below are the Github repository and a demo for this project to follow along.
What we are making
We are working on several features, which all involve email transaction.
- Email Verification allows you to verify the emails users used to sign up by sending them a verification link.
- Password Reset allows the users to reset their passwords from a reset link sent to their emails.
- Password Change allows the users to change their passwords simply by inputting their old and new passwords.
Building Password Change
This is the easiest feature to implement. All we have to do is match the user's old password against the database and save their new one.
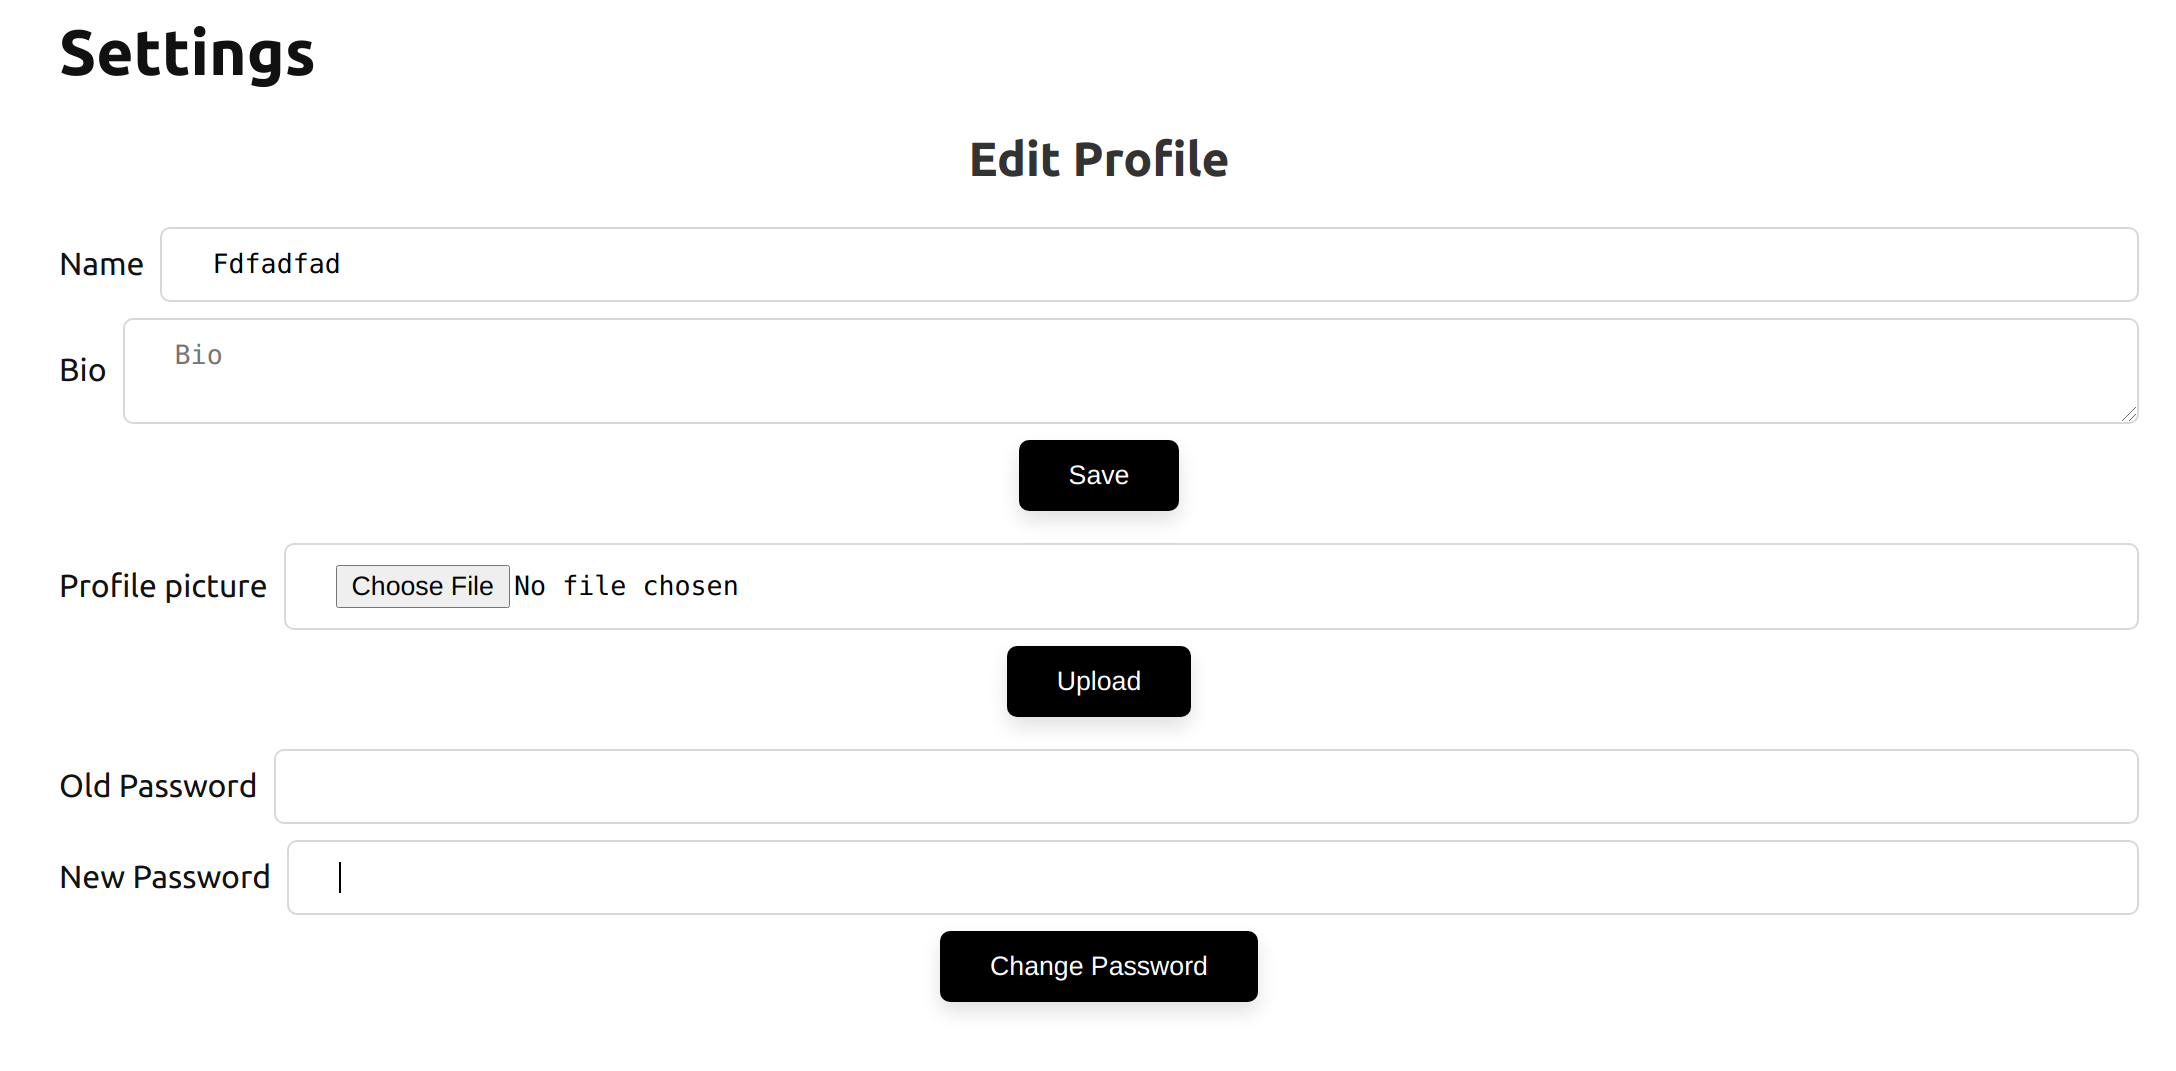
Password Change Section
For simplicity, I added the section right below Profile Settings page.
const [oldPassword, setOldPassword] = useState("");
const [newPassword, setNewPassword] = useState("");
const handleSubmitPasswordChange = event => {
  event.preventDefault();
  fetchSwal
    .put("/api/user/password", { oldPassword, newPassword })
    .then(data => {
      if (data.ok) {
        setNewPassword("");
        setOldPassword("");
      }
    });
};
/* ... */
return (
  <form onSubmit={handleSubmitPasswordChange}>
    <label htmlFor="oldpassword">
      Old Password
      <input
        type="password"
        id="oldpassword"
        value={oldPassword}
        onChange={e => setOldPassword(e.target.value)}
        required
      />
    </label>
    <label htmlFor="newpassword">
      New Password
      <input
        type="password"
        id="newpassword"
        value={newPassword}
        onChange={e => setNewPassword(e.target.value)}
        required
      />
    </label>
    <button type="submit">Change Password</button>
  </form>
);
When the user submits, we make a PUT call to /api/user/password with the old and new password. If the request is successful, we clear the new and old password fields.
We now go ahead and create our API at /api/user/password.
Password Change API
Create /pages/api/user/password/index.js.
import nextConnect from 'next-connect';
import bcrypt from 'bcryptjs';
import middleware from '../../../../middlewares/middleware';

const handler = nextConnect();
handler.use(middleware);

handler.put(async (req, res) => {
  try {
    if (!req.user) throw new Error('You need to be logged in.');
    const { oldPassword, newPassword } = req.body;
    if (!(await bcrypt.compare(oldPassword, req.user.password))) {
      throw new Error('The password you has entered is incorrect.');
    }
    const password = await bcrypt.hash(newPassword, 10);
    await req.db
      .collection('users')
      .updateOne({ _id: req.user._id }, { $set: { password } });
    res.json({ message: 'Your password has been updated.' });
  } catch (error) {
    res.json({
      ok: false,
      message: error.toString(),
    });
  }
});

export default handler;
We are reusing our middleware instance (with database, session, authentication, etc.)
We first check if the user is logged in (!req.user) and reject the request if they are not. req.user also contains all of our user data (including the hashed password at req.user.password)
We then go ahead and retrieve oldPassword and newPassword from the request body. The oldPassword is compared against the hashed current password (bcrypt.compare(oldPassword, req.user.password)). If it matches, we reject the request. If it does we hash the new password (bcrypt.hash(newPassword, 10)) and save it in our database.
await req.db
  .collection('users')
  .updateOne({ _id: req.user._id }, { $set: { password } });
Our try/catch makes it convenient to simply throw an error at any point to inform the user if the request is a failure.
And we are ready to roll~
Password Reset
Now that the user can change their current password to a new one. Yet that is only when they know their current password. We are now implementing password reset.
Forget Password API
We will have two routes for this API.
/pages/api/user/password/reset/index.js: Handle requests to create a password reset token/pages/api/user/password/reset/[token].js: Handle the token to reset password.
Create /pages/api/user/password/reset/index.js.
import sgMail from '@sendgrid/mail';
import crypto from 'crypto';
import nextConnect from 'next-connect';
import database from '../../../../../middlewares/database';

sgMail.setApiKey(process.env.SENDGRID_API_KEY);

const handler = nextConnect();

handler.use(database);

handler.post(async (req, res) => {
  try {
    const user = await req.db
      .collection('users')
      .findOne({ email: req.body.email });
    if (!user)
      throw new Error('This email is not associated with any account.');
    const token = crypto.randomBytes(32).toString('hex');
    await req.db.collection('tokens').insertOne({
      token,
      userId: user._id,
      type: 'passwordReset',
      expireAt: new Date(Date.now() + 1000 * 60 * 20)
    });
    const msg = {
      to: user.email,
      from: process.env.EMAIL_FROM,
      templateId: process.env.SENDGRID_TEMPLATEID_PASSWORDRESET,
      dynamic_template_data: {
        subject: '[nextjs-mongodb-app] Reset your password.',
        name: user.name,
        url: `${process.env.WEB_URI}/forgetpassword/${token}`
      }
    };
    await sgMail.send(msg);
    res.json({ message: 'An email has been sent to your inbox.' });
  } catch (error) {
    res.json({
      ok: false,
      message: error.toString()
    });
  }
});

export default handler;
We only need our database middleware in this API because we only need to communicate to the database.
We first verify if the email user input exists in the database req.db.collection('users').findOne({ email: req.body.email }). If the user exists, we create a passwordReset token with the userId attached. The token is generated by Node module crypto (although you can replace it with anything).
set to be expire after 20 minutes for security reason: expireAt: new Date(Date.now() + 1000 * 60 * 20). In /middlewares/database.js, we set the tokens collection to expire the token based on expireAt field:
db
  .collection('tokens')
  .createIndex('expireAt', { expireAfterSeconds: 0 });
The token is then inserted into our tokens MongoDB collection.
We then send an email to the user with a password reset link (website_url/forgetpassword/{token}).
Forget Password page

We now create a forget password page at /pages/forgetpassword/index.jsx
const ForgetPasswordPage = () => {
  const [email, setEmail] = useState();

  function handleSubmit(event) {
    event.preventDefault();
    fetchSwal
      .post('/api/user/password/reset', { email })
      .then(resp => resp.ok !== false && redirectTo('/'));
  }

  return (
    <Layout>
      <Head>
        <title>Forget password</title>
      </Head>
      <h2>Forget password</h2>
      <form onSubmit={handleSubmit}>
        <p>Do not worry. Simply enter your email address below.</p>
        <label htmlFor="email">
          <input
            id="email"
            type="email"
            placeholder="Email"
            value={email}
            onChange={e => setEmail(e.target.value)}
          />
        </label>
        <button type="submit">Submit</button>
      </form>
    </Layout>
  );
};
We simply ask the user for their email, which we then send to our just-created API above at '/api/user/password/reset'.
Reset Password API
We need an API to resolve the reset token.
Create /pages/api/user/password/reset/[token].js:
import nextConnect from 'next-connect';
import bcrypt from 'bcryptjs';
import database from '../../../../../middlewares/database';

const handler = nextConnect();

handler.use(database);

handler.post(async (req, res) => {
  // check valid token
  const tokenDoc = await req.db.collection('tokens').findOne({
    token: req.query.token,
    type: 'passwordReset'
  });
  res.end(tokenDoc ? 'true' : 'false');
});

handler.put(async (req, res) => {
  // password reset
  try {
    if (!req.body.password) throw new Error('No password provided.');
    const { value: tokenDoc } = await req.db
      .collection('tokens')
      .findOneAndDelete({ _id: req.query.token, type: 'passwordReset' });
    if (!tokenDoc) throw new Error('This link may have been expired.');
    const password = await bcrypt.hash(req.body.password, 10);
    await req.db
      .collection('users')
      .updateOne({ _id: tokenDoc.userId }, { $set: { password } });
    res.json({ message: 'Your password has been updated.' });
  } catch (error) {
    res.json({
      ok: false,
      message: error.toString()
    });
  }
});

export default handler;
There are two handlers: a POST and PUT one.
The POST one will only check if the token is valid by querying tokens document, which then returns either true or false. This can be used to immediately show to the user that clicks the link if the token (or link) is valid (and optionally allowing them to request a new one). Later, we will see this check in getInitialProps.
The PUT one will do the same check for the token as in POST, but we also delete the token (findOneAndDelete) if it is found. If the token is found (and deleted), we hash the new password bcrypt.hash(req.body.password, 10) and save it to the user whose id is attached to the token (tokenDoc.userId):
req.db
  .collection('users')
  .updateOne({ _id: tokenDoc.userId }, { $set: { password } });
Reset Password page
This page represents the link that is sent to the user's email (website_url/forgetpassword/{token}). Create /pages/forgetpassword/[token].jsx:
const ResetPasswordTokenPage = ({ valid, token }) => {
  const [password, setPassword] = useState('');
  function handleSubmit(event) {
    event.preventDefault();
    fetchSwal
      .post(`/api/user/password/reset/${token}`, { password })
      .then(resp => resp.ok !== false && redirectTo('/'));
  }

  return (
    <Layout>
      <Head>
        <title>Forget password</title>
      </Head>
      <h2>Forget password</h2>
      {valid ? (
        <>
          <p>Enter your new password.</p>
          <form onSubmit={handleSubmit}>
            <div>
              <input
                type="password"
                placeholder="New password"
                value={password}
                onChange={e => setPassword(e.target.value)}
              />
            </div>
            <button type="submit">Set new password</button>
          </form>
        </>
      ) : (
        <p>This link may have been expired</p>
      )}
    </Layout>
  );
};

ResetPasswordTokenPage.getInitialProps = async ctx => {
  const { token } = ctx.query;
  const valid = await fetch(
    `${process.env.WEB_URI}/api/user/password/reset/${token}`,
    { method: 'POST' }
  )
    .then(res => res.text())
    .then(bol => bol === 'true');
  return { token, valid };
};

export default ResetPasswordTokenPage;
As we can see in getInitialProps, we first query the POST handler to check if the token is valid and return it as a pageProp along with the token.
Based on the valid pageProp, we have a conditional render to show the password reset form if the token is valid or the text "This link may have been expired" otherwise:
return (
  valid ? (
    <>
      <p>Enter your new password.</p>
      <form onSubmit={handleSubmit}>
        <div>
          <input
            type="password"
            placeholder="New password"
            value={password}
            onChange={e => setPassword(e.target.value)}
          />
        </div>
        <button type="submit">Set new password</button>
      </form>
    </>
  ) : (
    <p>This link may have been expired</p>
  );
)
After the user input their new password, the new password is sent along with the token to our PUT handler.

That is how we do password reset.
Building Email Verification
Let's finish up with email verification. This feature is similar to password reset as we similarly are sending a token to the user.
Email Verification API
Get started by creating /pages/api/user/email/verify/index.js. This will handle users' requests to receive a confirmation email.
const handler = nextConnect();

handler.use(middleware);

handler.post(async (req, res) => {
  try {
    if (!req.user) throw new Error('You need to be logged in.');
    const token = crypto.randomBytes(32).toString('hex');
    await req.db.collection('tokens').insertOne({
      token,
      userId: req.user._id,
      type: 'emailVerify',
      expireAt: new Date(Date.now() + 1000 * 60 * 60 * 24),
    });
    const msg = {
      to: req.user.email,
      from: process.env.EMAIL_FROM,
      templateId: process.env.SENDGRID_TEMPLATEID_EMAILVERIFY,
      dynamic_template_data: {
        subject: '[nextjs-mongodb-app] Please verify your email address.',
        name: req.user.name,
        url: `${process.env.WEB_URI}/api/user/email/verify/${token}`,
      },
    };
    await sgMail.send(msg);
    res.json({ message: 'An email has been sent to your inbox.' });
  } catch (error) {
    res.json({
      ok: false,
      message: error.toString(),
    });
  }
});

export default handler;
In this handler, we are checking if the user is logged in and create a token that associates the user ID req.user._id. This token will expire in 24 hours.
We then send an email with the email confirmation link (website_url/api/user/email/verify/{token}).
Okay, I actually got lazy and did not create a dedicated page like we did above with Password Reset. This is the front of our API.
Looking at it, you will realize we need at GET handler at /api/user/email/verify/{token}.
Create /pages/api/user/email/verify/[token].js:
handler.get(async (req, res) => {
  try {
    const { token } = req.query;
    const { value: tokenDoc } = await req.db
      .collection('tokens')
      .findOneAndDelete({ token, type: 'emailVerify' });

    if (!tokenDoc) {
      res.status(401).json({
        ok: false,
        message: 'This link may have been expired.',
      });
      return;
    }

    await req.db
      .collection('users')
      .updateOne({ _id: tokenDoc.userId }, { $set: { emailVerified: true } });

    res.json({
      ok: true,
      message: 'Success! Thank you for verifying your email address. You may close this page.',
    });
  } catch (error) {
    res.json({
      ok: false,
      message: error.toString(),
    });
  }
});
Similar to Password Reset, we check if the token exists and remove it.
req.db
  .collection('tokens')
  .findOneAndDelete({ token, type: 'emailVerify' });
If it existed (and removed), we set the emailVerified field in the user's document to true.
Expose the email verification status in the front-end
In /pages/api/session.js, I include emailVerified field:
const { name, email, bio, profilePicture, emailVerified } = req.user;
return res.json({
  data: {
    isLoggedIn: true,
    user: {
      name,
      email,
      bio,
      profilePicture,
      emailVerified
    }
  }
});
The value of emailVerified will be used in our profile page at pages/profile/index.js.
const {
  state: {
    isLoggedIn,
    user: { name, email, bio, profilePicture, emailVerified }
  }
} = useContext(UserContext);

function sendVerificationEmail() {
  fetchSwal.post('/api/user/email/verify');
}
/* ... */
return (
  <>
    {/* ... */}
    Email
    <p>
      {email}
      {!emailVerified ? (
        <>
          {' '}
          unverified {/* eslint-disable-next-line */}
          <a role="button" onClick={sendVerificationEmail}>
            Send verification email
          </a>
        </>
      ) : null}
    </p>
    {/* ... */}
  </>
);
If emailVerified is not true, we display a unverified text with a button that allows user to send a verification email. The button send a POST request to /api/user/email/verify, which we went through above.
Conclusion
Tadah! We have managed to have password change/reset and email verification feature in our app. These features can be seen in real-life app.
Check out the repository here. The pull request for this particular feature is here.
I have spent hours writing this articles and even dozen more working on this project. If you find it helpful, I would love to see it getting stared. Until then, good luck on your Next.js project!