How I tweak my Wordpress website for better SEO and faster speed
I have recently launched my Wordpress website, but it seems slow. This is how I optimize the website's SEO and speed by using plugins and a CDN.
It has been two weeks into Wordpress with my 2.0 hoangvvo.com. Wordpress is a well-rounded solution for content management. However, something about it annoys me.
Problems
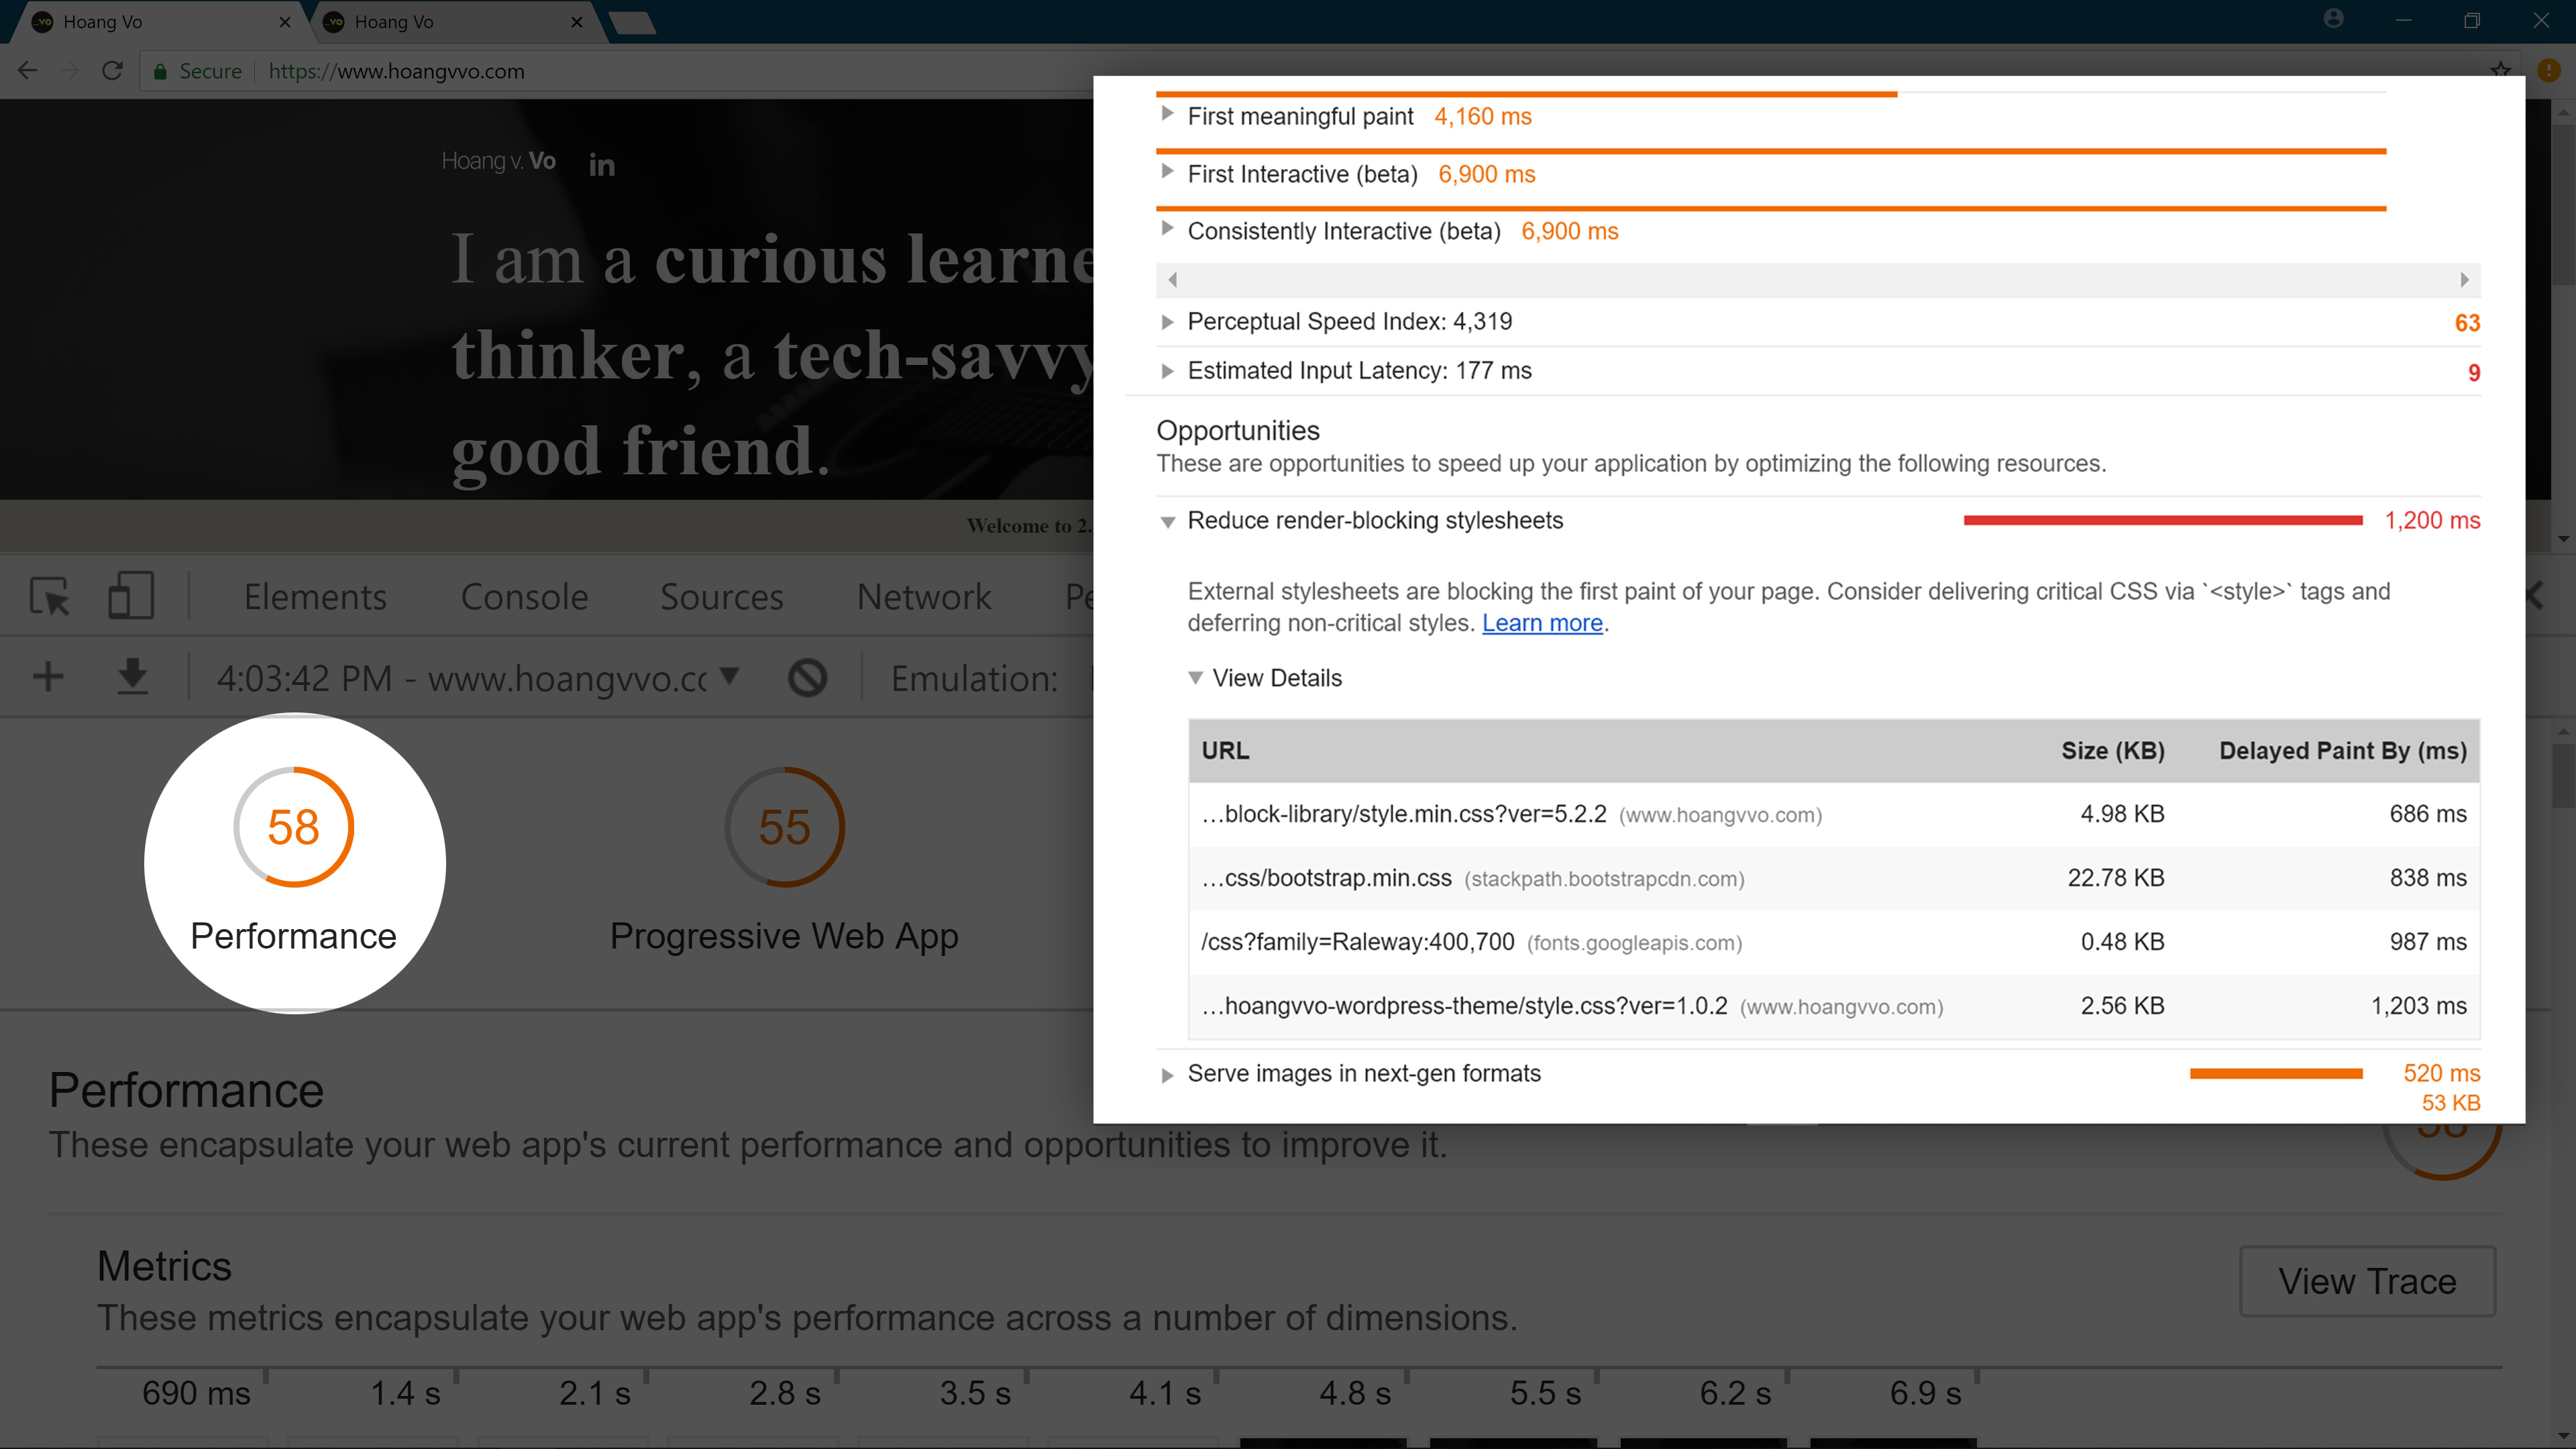
I noticed it was really slow on the first load. To evaluate the situation, I ran a Chrome Lighthouse Test with the Clear storage option and got the result below.
As you can see, I got a Performance score of 58, which is unacceptable. (In case you are wondering, I got 92 for Best Practice: Good job me!). Looking into the result, I see several problems:
- The images and scripts are slowing the website down.
- Caching is needed
My SEO score is 78, which is not bad, but it really needs to go up if I want to reach more readers.
Oh no, I almost forget! Google has started to rank websites based on their speed. That would punish my site big time.
Lucky for me, Wordpress offers a wide range of plugins.
Let's tackle these problems one by one.
Improving SEO
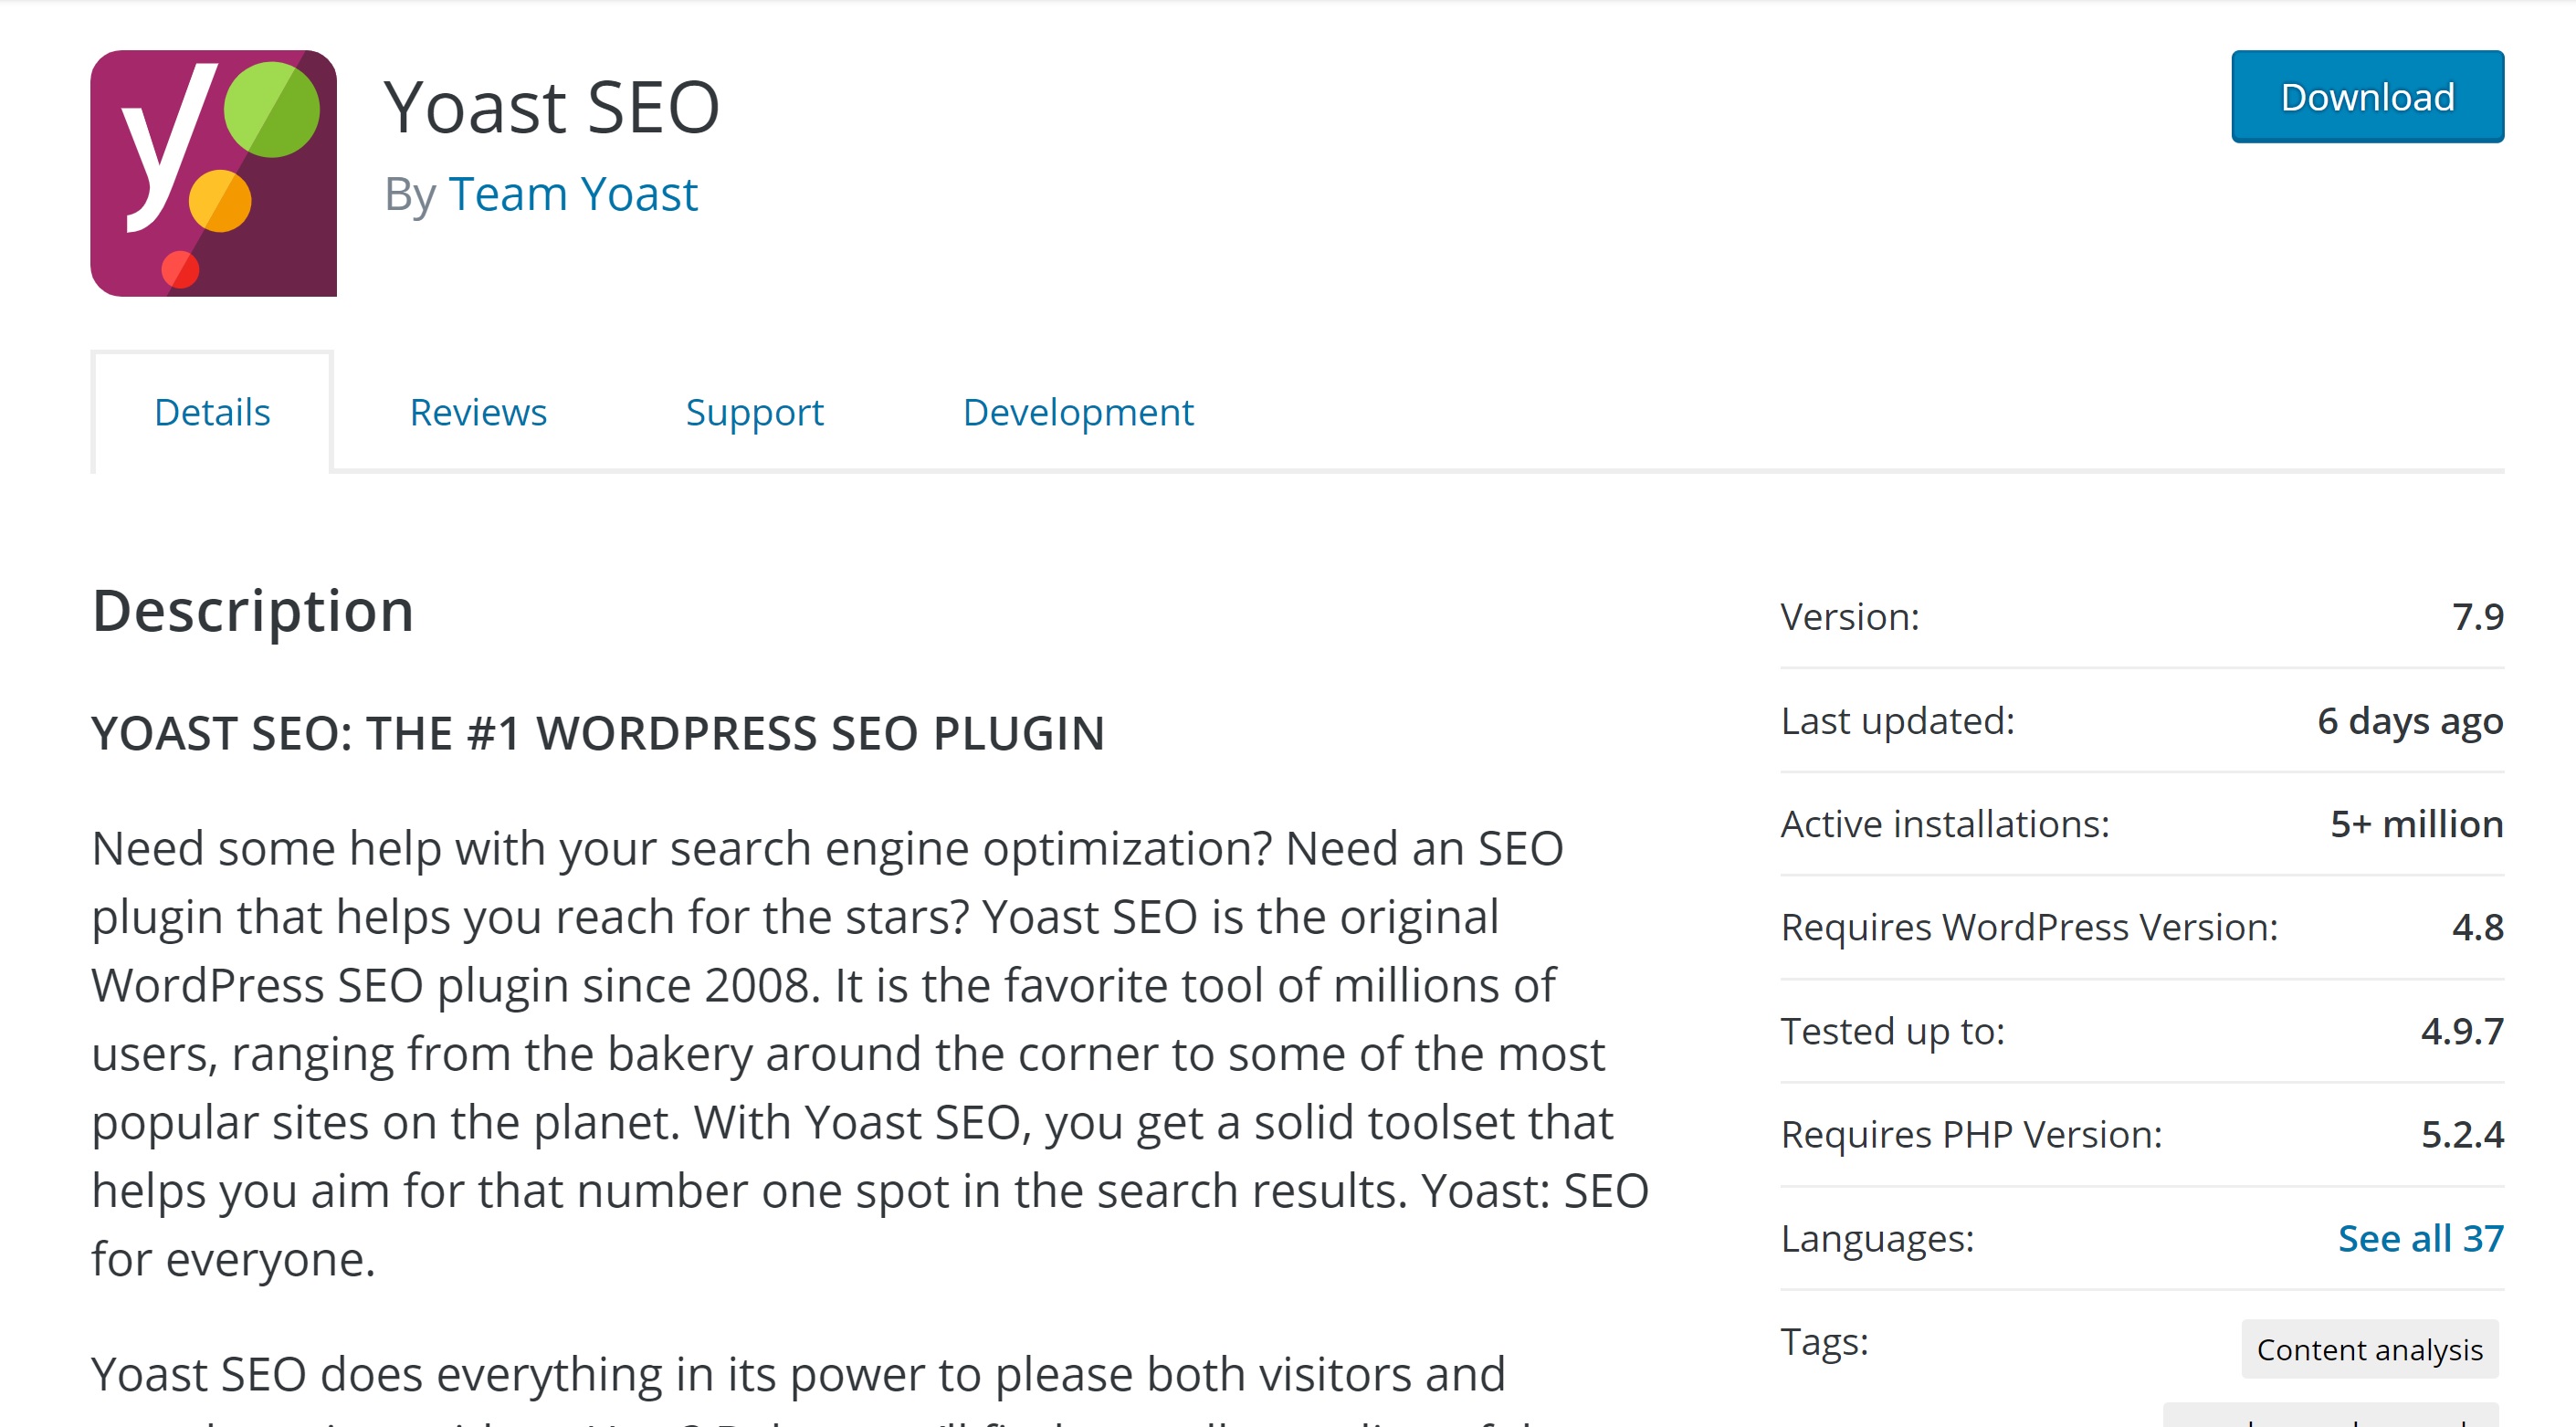
I start out by downloading the Yoast SEO Plugin.
I downloaded it by signing into my Wordpress account and navigating to Plugins > Add New. Enter Yoast SEO into the search box and click Install Now. After that, I followed the onscreen instruction and click Activate.
Yoast SEO is the most well known out-of-the-box solution for SEO. It has been around since 2008 and trusted by millions of users. It helps you:
- Adding SEO-friendly Title and meta description
- Create advanced XML Sitemaps that help your web pages get discovered.
- Set canonical URLs to avoid duplication (which will get you a ranking penalty)
- Breadcrumbs and Structured Data creation to better represent your website
In addition, Yoast SEO includes Content analysis tool to help you create SEO optimized content (On-Page SEO). It is indeed powerful.
On the first run, Yoast SEO will ask you for your preferences. Simply go with the one you like or its recommendation.
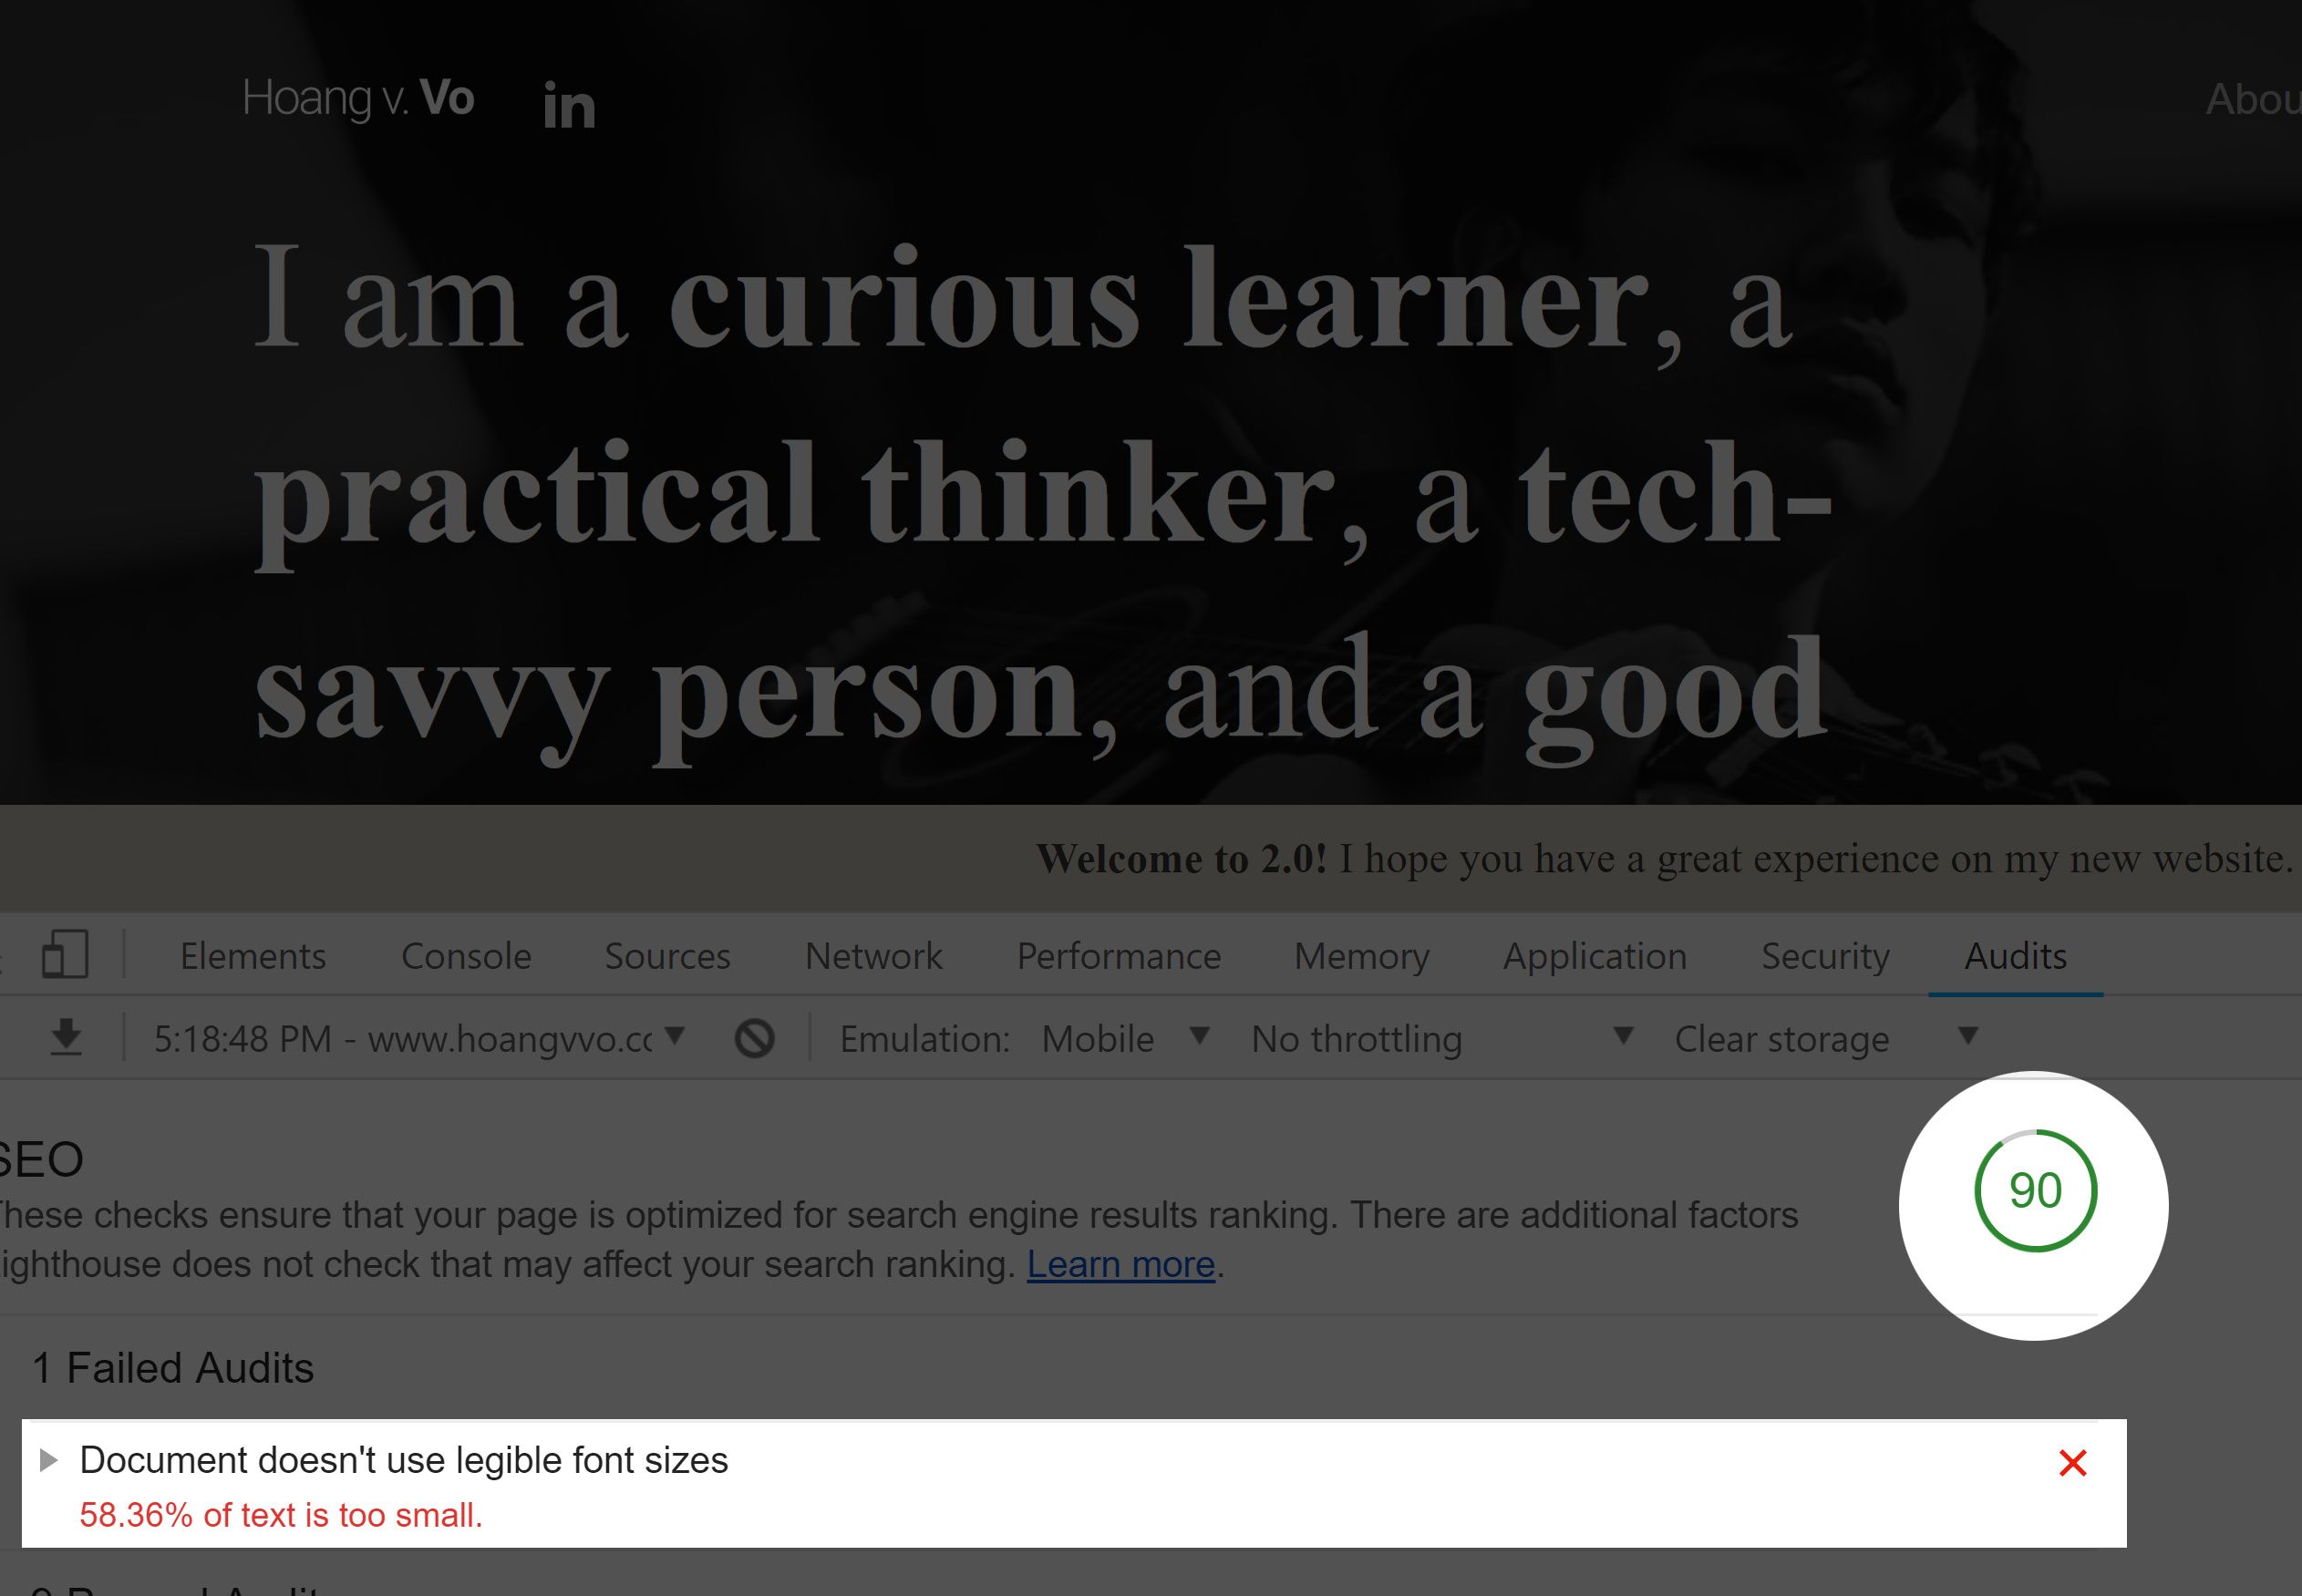
I then re-ran my Lightroom test.
My score increased from 78 to 90. That's amazing. The only problem left on my website is that it has a small font size, which can be fixed easily.
Improving speed
Improving page speed is the trickier problems.
CDN with Cloudflare
I started by integrating a CDN. A content delivery network (CDN) refers to servers around the world that help deliver your website faster.
There are different CDN services out there, but I settled with Cloudflare.
I signed up for an account and walked through their instruction into integrate to my service. If I had trouble, I would look up "Cloudflare + the name of my domain registrar or hosting company" on Google.
Cloudflare includes features such as Minify HTML, CSS and Caching, but I did not activate them because they would conflict with the plugin that I introduced later. Do not worry, this plugin later will help you disable them.
2019 Update: Cloudflare now offers Cloudflare Registrar for domains, which only allows transfers at the moment - You can check out their affordable prices! This will allow you to control both your CDN and Domain in the same place.
Improving page speed with Plugins
Cache plugin
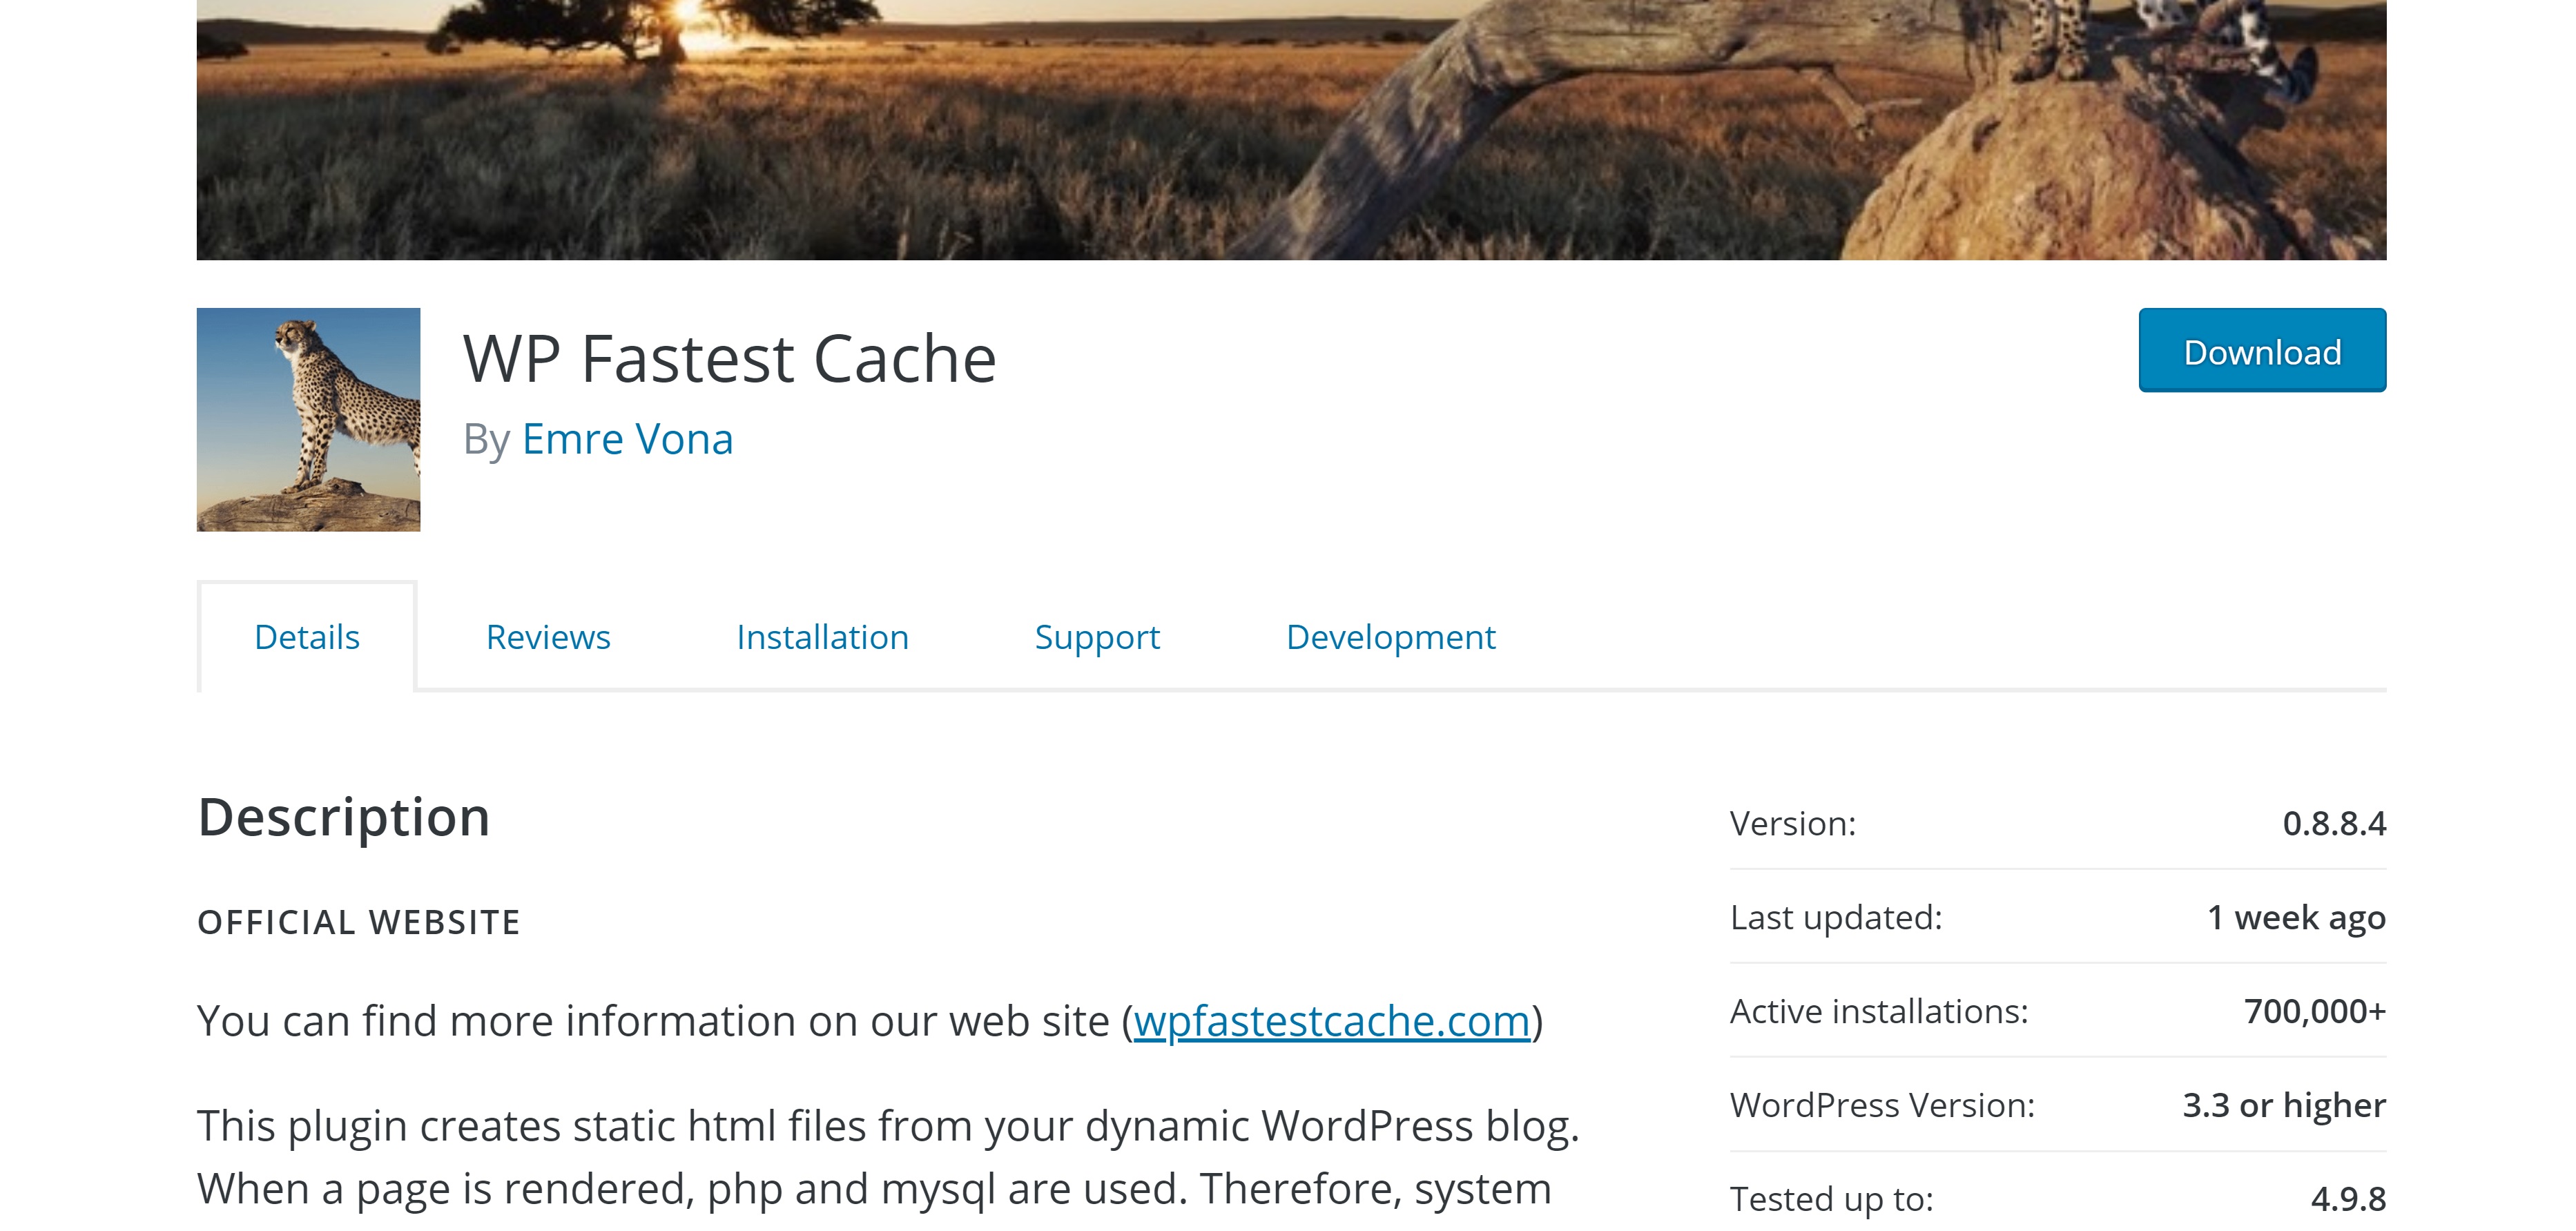
First, I need a caching plugin. Similar to CDNs, there are various options out there. I personally test out three of them: W3 Total Cache, WP Fastest Cache, and WP Super Cache. I installed each one and ran my website through Lighthouse each time. Results showed me that WP Fastest Cache is indeed the fastest of them all.
I went ahead and installed it. I enabled the followings: Cache System, Preload, New Post, Update Post, Minify HTML, Minify Css, Combine Js, Gzip, Browser Caching.
After going through the setup, I landed on the CDN Settings page. From here, I selected CDN by Cloudflare. Enabling this requires my Cloudflare's API Key. You can follow this instruction. After doing so, the next process is automated.
Image optimization
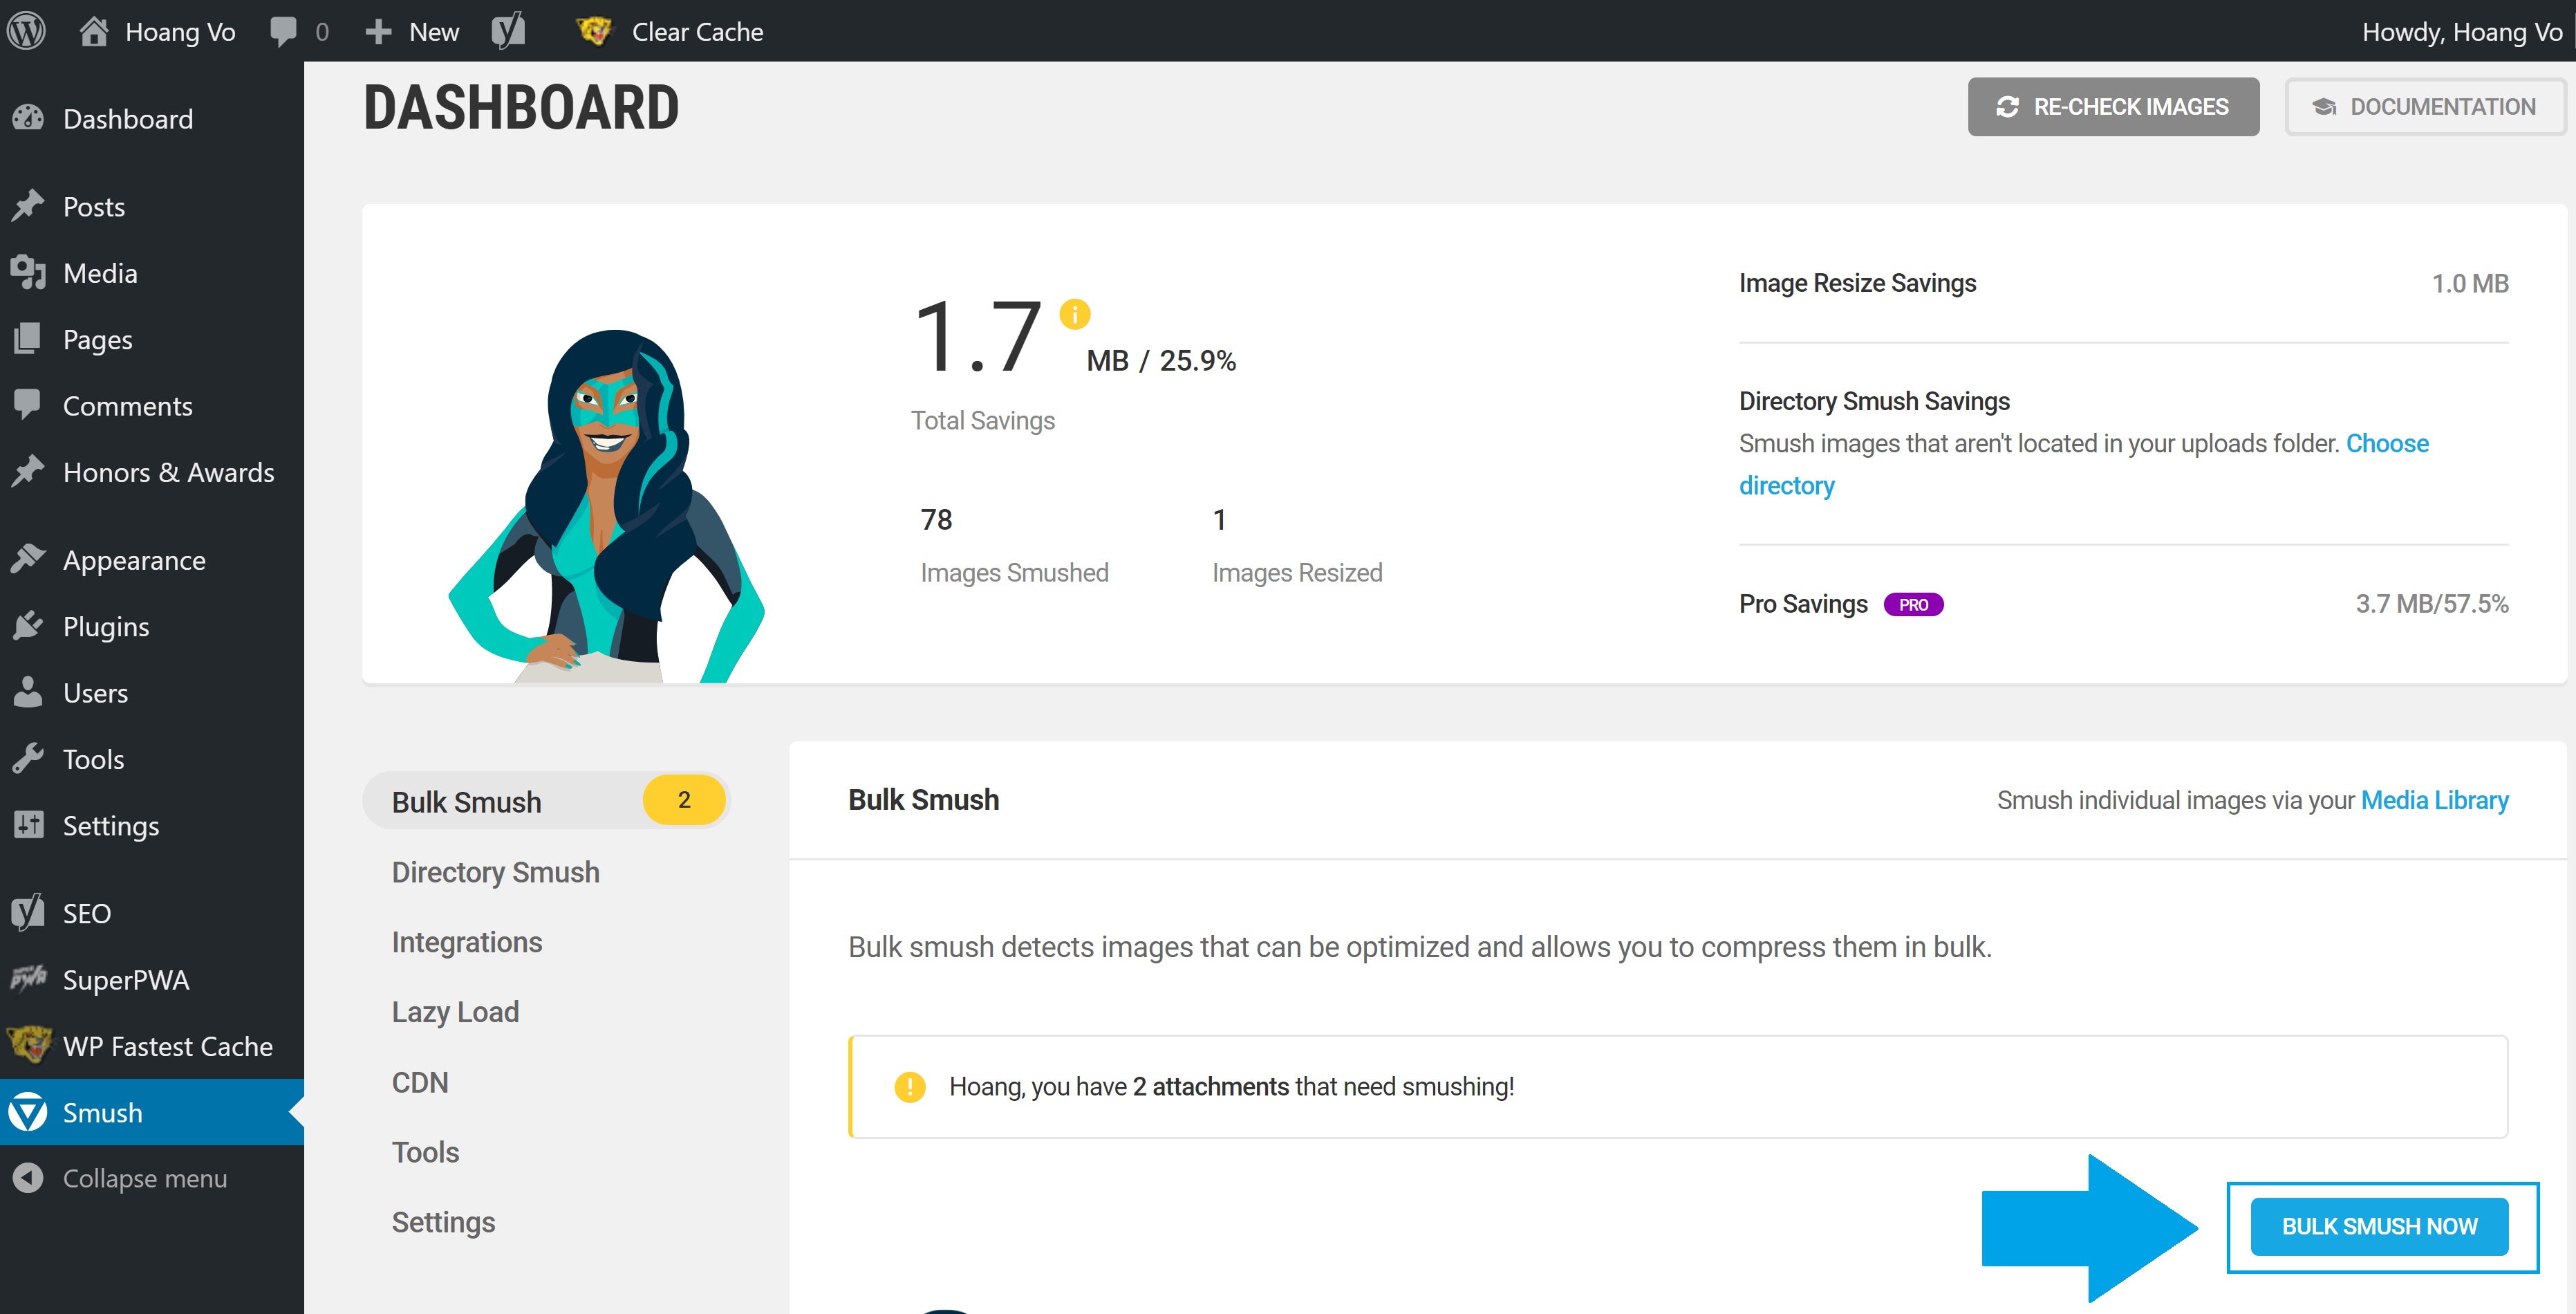
To optimize my image delivery, I installed Lazy Load by WP Rocket and Smush
Lazyload is a technique to defer loading objects (images, scripts, etc.) until they are needed. Lazy Load by WP Rocket allows me to only load the image when it is in my view, thus reducing page load.
After that, Smush allows me to lossless compress my images to reduce the sizes while keeping the qualities.
I went ahead and enabled both plugins.
Progressive Web Apps
2019 update: I have updated this guide with Progressive Web App solution To enable Progressive Web App, I simply installed Super Progressive Web Apps.
After installation, I went to Super Progressive Web Apps setting and typed in my website description.
Result
I then went back to Lighthouse and test my tweaked Wordpress website.
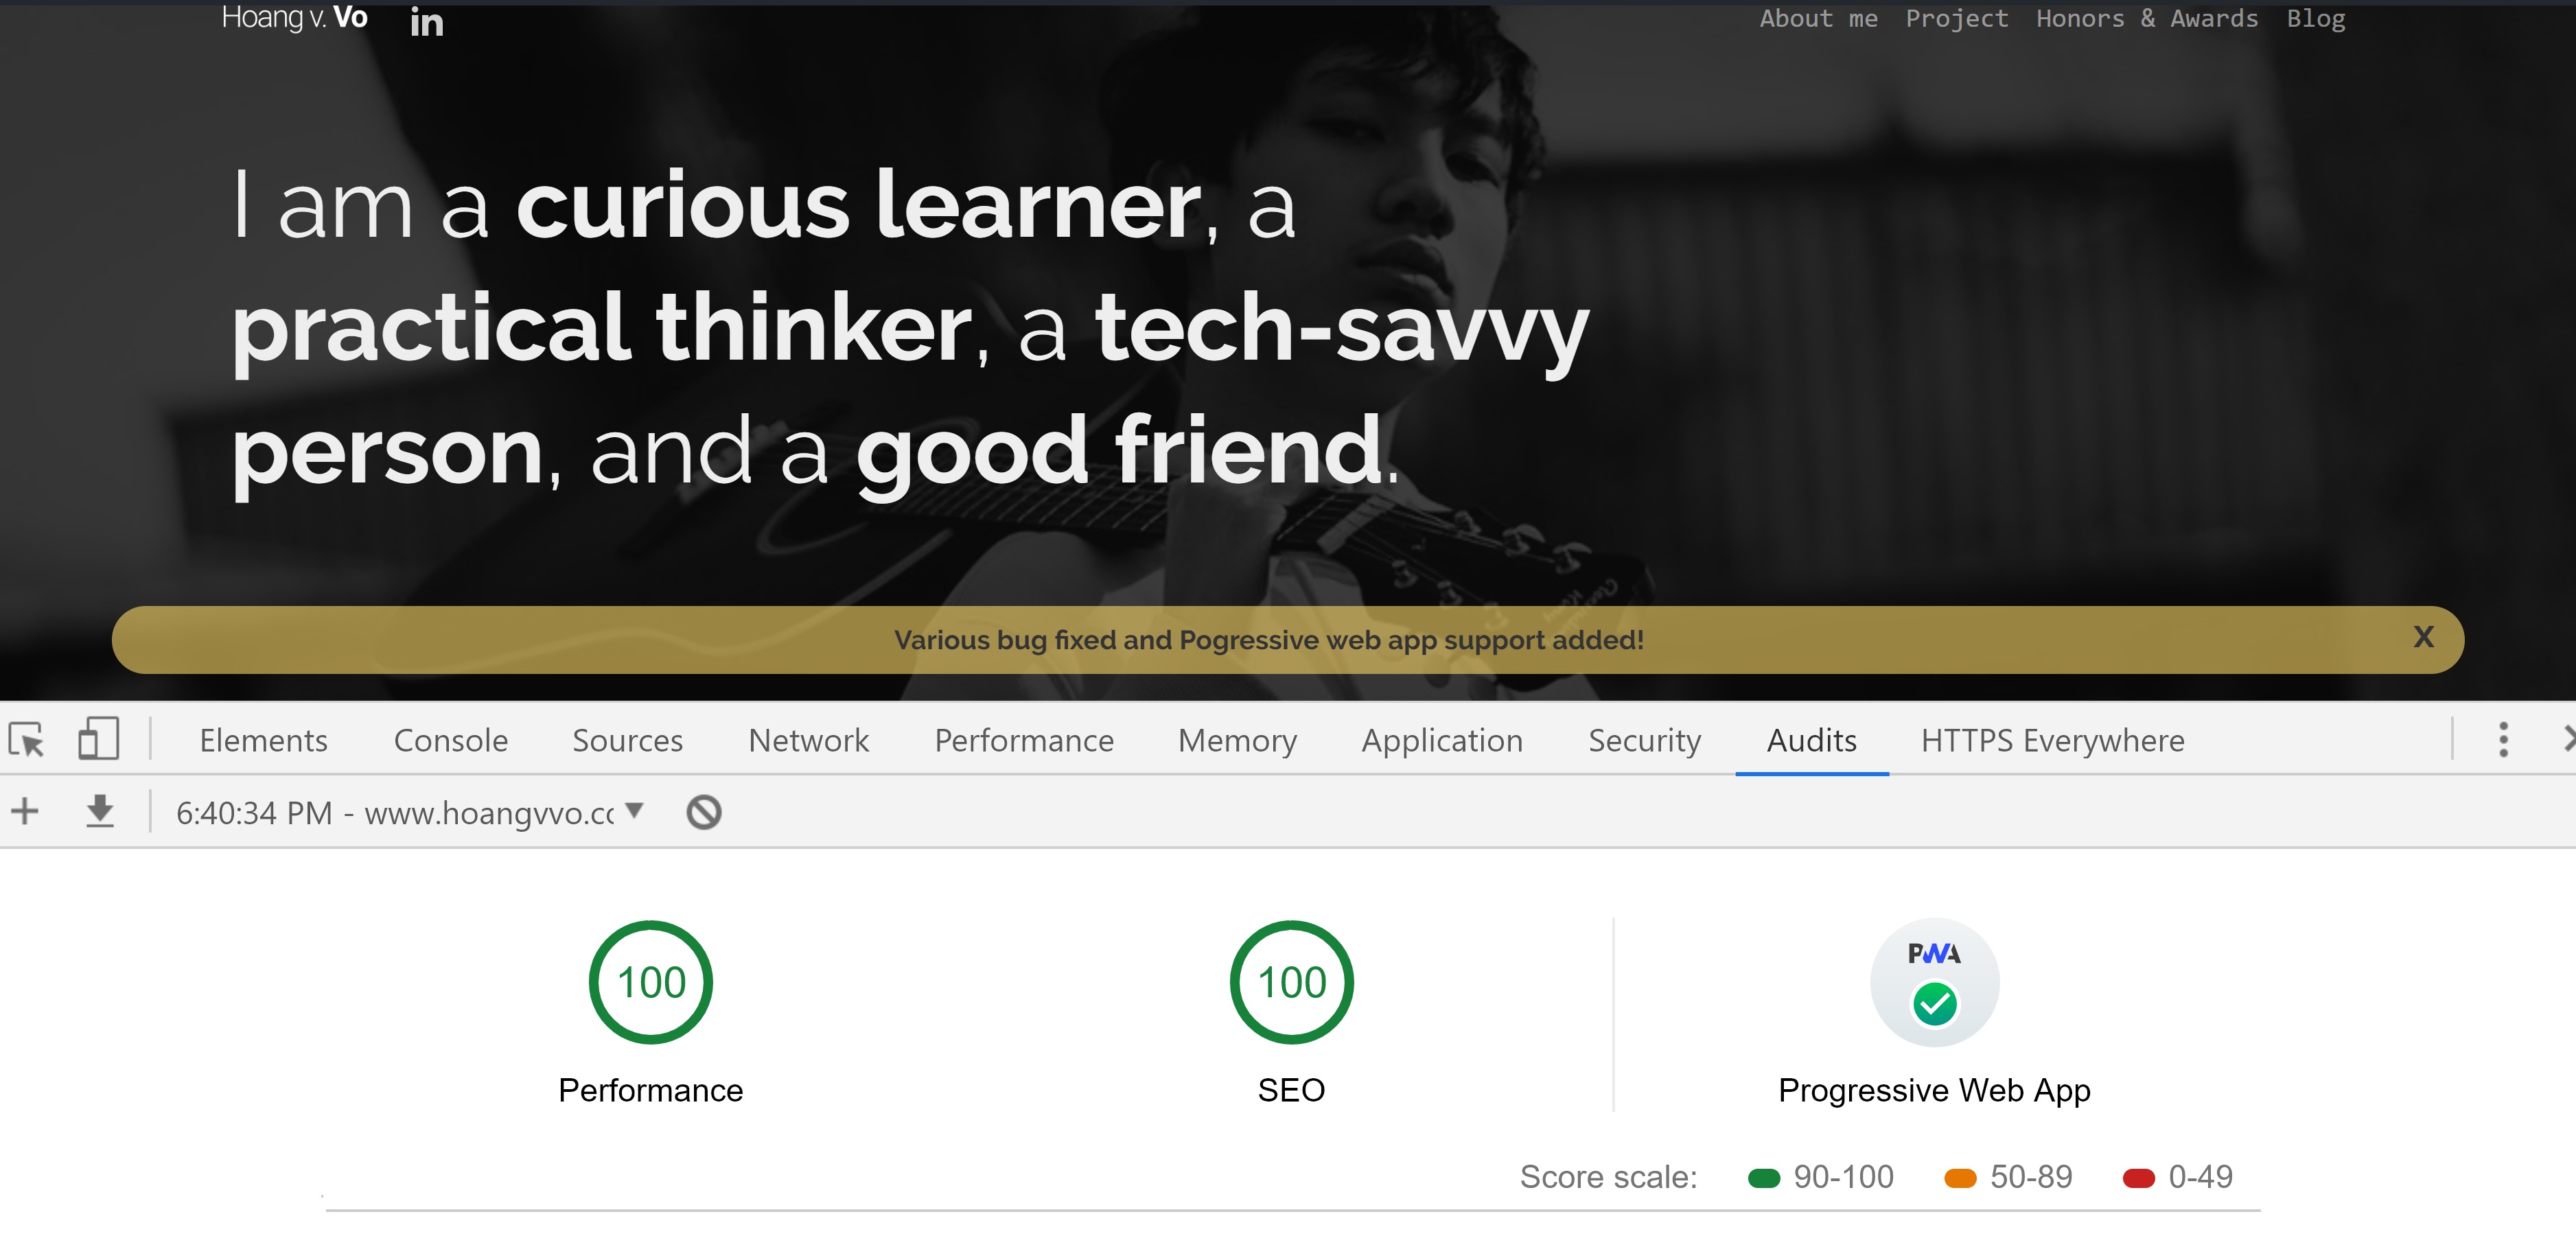
Brilliant! My Wordpress website is now fully optimized.
